
After getting the downtube in place I put the engine mount templates on the jig only to realise that due to the steepness of the angle in the downtube the engine mounts were too close to the frame.
So I moved the engine and transmission templates back an inch to make enough clearance between the engine and downtube.
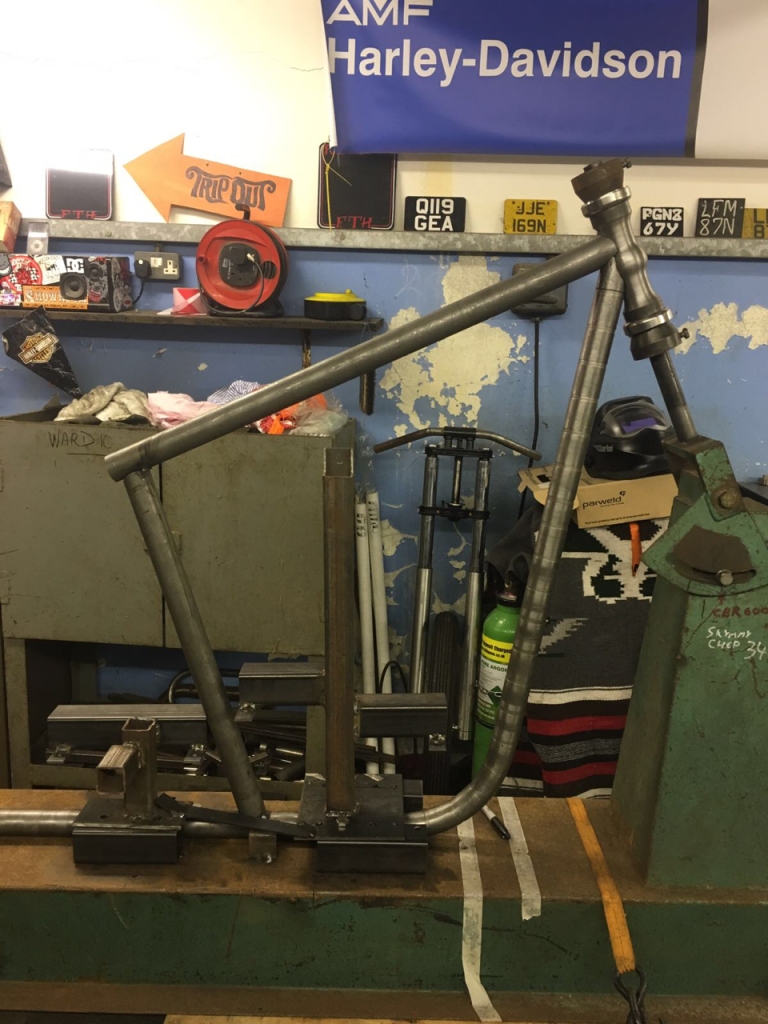
Then next I had to set up the seat post, which I’d taken the angle off my stock frame for. Once I’d gotten that tube in place, I was able to get the top tube sorted but, as with the downtube, there was a lot of cutting and grinding in order to get the top tube shaped just right to fit the neck of the frame.

When I’d gotten the front triangle set up I was able to make templates for the engine and front transmission plate mounts.
I made these out of cardboard first to get the correct shape, and I also made a template for the gusset that I’m going to put at the neck of the frame, and another for the supports that I’ll place under the engine mounts.
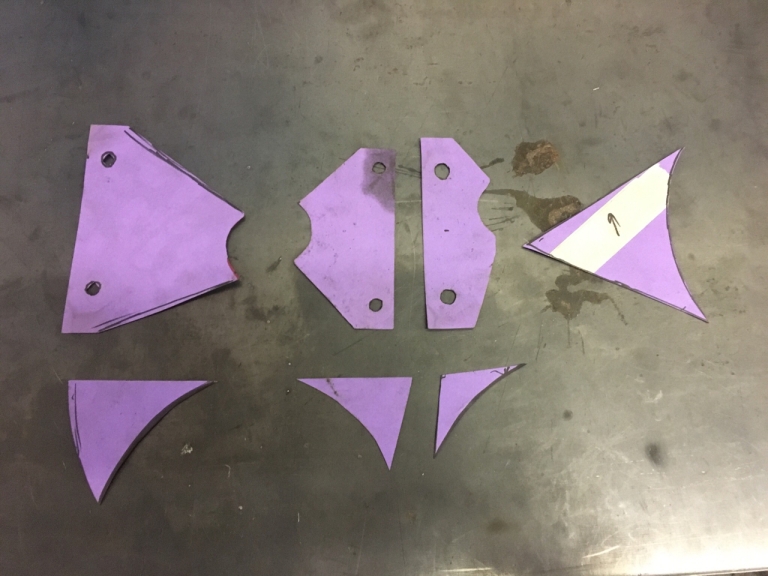

With the templates sorted I was then able to cut them out of 12mm steel plate.


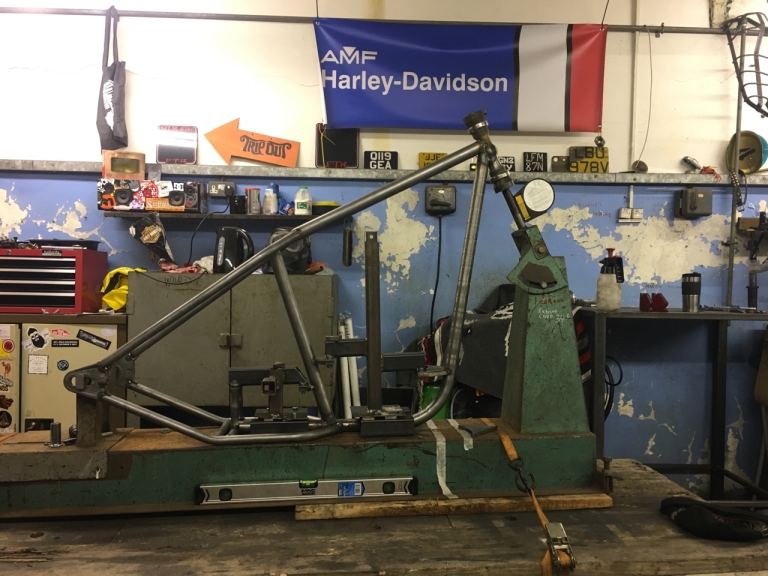
The next step for me was to weld up the front triangle when I was happy with all the angles and sizes.
Once this was done I started work on the rear triangle – I’d already decided to shorten the rear end by one inch.
I’m using the dropouts from a Harley Davidson Softtail frame as they were easy for me to get hold of.
I mocked up the lower frame rails first to ensure that the dropout axel rail was parallel to the jig.

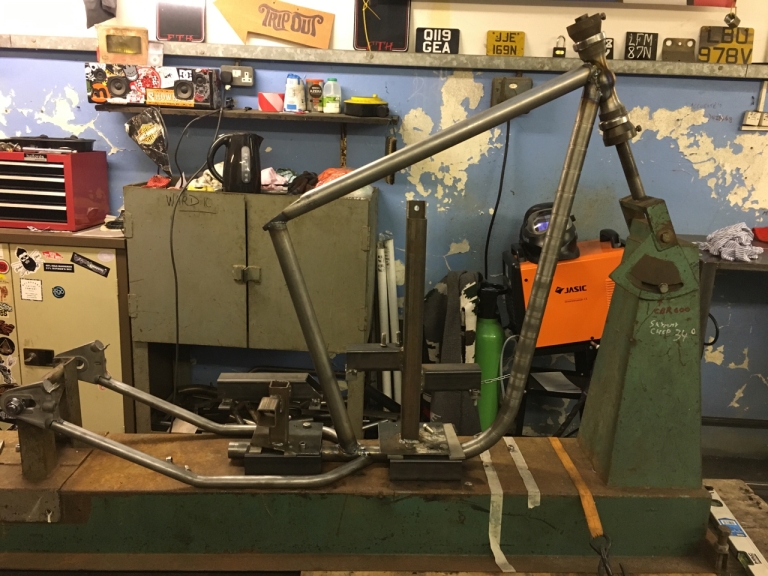
Then I mounted the upper rail of the rear section. I found these rails a lot easier to set up compared to the lower rails as the dropouts were already in place.
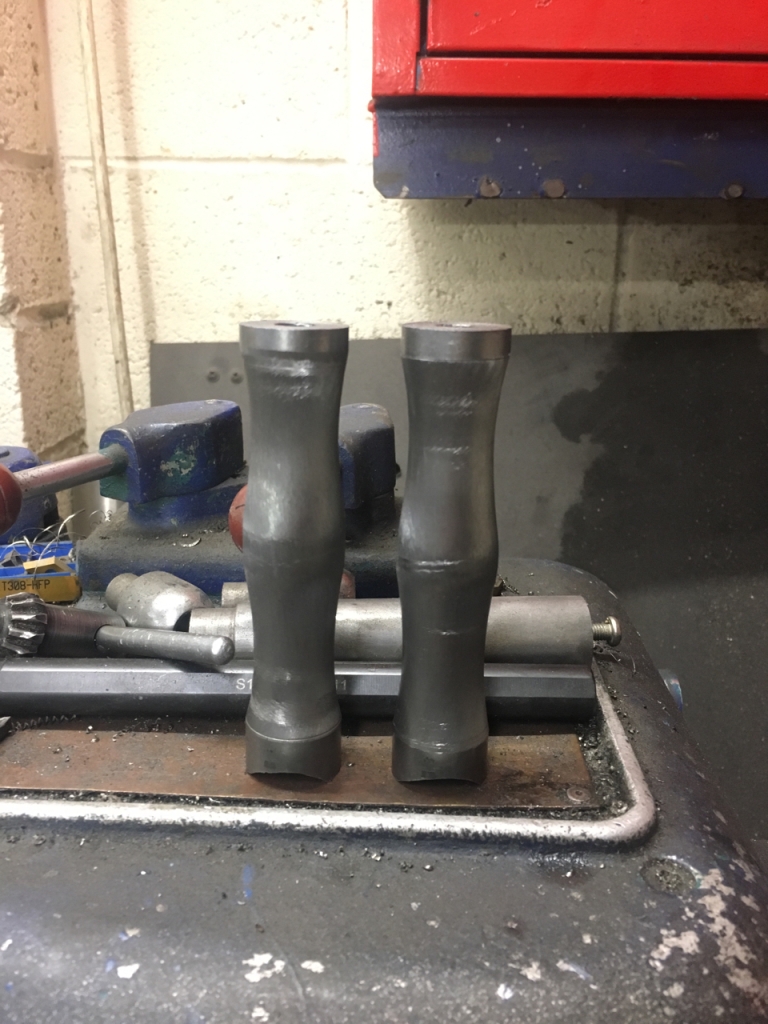
When I was happy with the position of the rear rails I was able to make the rear transmission support stands.
As the downtube rail will be running under the engine and transmission, the support stands needed to be made a lot taller than the stock ones, so I machined them to match the machining already done on the neck.

Then it was time to finally fully weld the whole frame and mock it up as a roller!

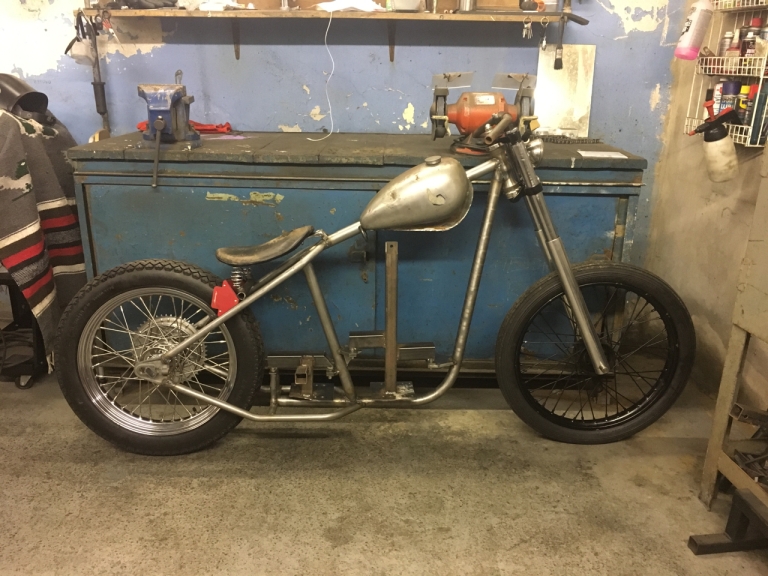
It felt so good to get the frame off the jig so I could see it with the front end and wheels on.
I then couldn’t resist mocking the tank and seat up to give me an idea of the riding position.

So I’m getting there. I’ll post more soon!